How to install a Blogger template?
0. If your are using Dynamic Views, you need first go to Design (Dashboard → Template) and then click on “Revert to classic templates → Revert to classic template”.
1. Download the template and unzip the file (you can use a free unzipper software).
unzip-template
2. Go to your blog template section (Dashboard → Template → “Backup / Restore” button).
In the old Blogger design: Dashboard → Design → Edit HTML .
3. Backup your previous template (Download full Template).
In the old Blogger design:
upload-template
4. Find and upload the xml file of your template.
5. If you see a warning like following:
warning-install-template
Click “keep widgets“.
6. Enjoy! :)
Why I can’t install a template? Blogger gives an error.
There are several possible factors that cause an error Bx-xxxx:
The code is directly copied, and Blogger did ‘t interpret it.
Temporarily Blogger is not accepting templates with certain codes or gadgets.
Possible solutions:
Remove widgets or gadgets that come with the template downloaded.
Clear your browser’s cookies.
Trying to upload the template with a different browser (Opera, Firefox, Chrome).
No copy and paste the code directly, upload the xml file.
Wait 24 hours and try again.
How do I log in to my blog without the navbar?
The Blogger navbar is just a plug and provides a shortcut to enter your blog, but you can always log in from Blogger.com.
How do I customize my template?
For color and the font size, some Blogger templates offer an option to change it from the Dashboard (Dashboard → Design → Template designer → Advanced or Dashboard → Template → Customize → Advanced in the new Blogger design). Here, you can see the result directly in the template.
blogger-template-designer
Major changes in the templates needed to know at least a little CSS and HTML. A quick way to modify a template is change the images in the CSS code, for others with the same dimensions. That is the process to change the header of a design, for example.
Additionally, some templates have their own settings instructions and customization, refer to the same download page of your template.
How can I edit the menu of my template?
1. Most templates have a menu that can only be edited from the HTML (Dashboard → Design → Edit HTML or Dashboard → Template → Edit HTML in the new Blogger design). In many cases the code to look for is like:
<li class='current'><a expr:href='data:blog.homepageUrl'>Home</a></li>
<li><a expr:href='data:blog.homepageUrl + "feeds/posts/default"'>Posts RSS</a></li>
<li><a expr:href='data:blog.homepageUrl + "feeds/comments/default"'>Comments RSS</a></li>
<li><a href='#'>Edit</a></li>
There you can edit the expr:href=’…’ code, with your own links: href=’http://mylink…’. Also see the instructions in your template for more information.
2. Some templates include a link list widget or a pages widget to edit the menu directly from the Dashboard.
For link liks widget: Dashboard → Design → Page Elements. Or Dashboard → Layout in the new Blogger design.
For pages widget: Posting → Edit pages → New pages. Or Dashboard → Pages → New Page in the new Blogger design.
How to go back from Dynamics Views to standard templates
If you are using the new Blogger templates, called Dynamics Views, you don’t have access to most templates on the web.
To go back from Dynamics Views to standard templates you only need:
Go to Template designer (Dashboard → Design).
Click on “Revert to previous template”.
That’s it. Now each time you enter in ‘Design’ section, you will be able to upload custom templates again.
Why the date is displayed as “undefined” or this is not show?
Probably because you don’t choose the right date format. The format should be changed from the panel and usually the correct types are:
1. Dashboard → Settings → Language and formatting → Date Header Format
date-header-format
Or
2. Dashboard → Settings → Language and formatting → Timestamp Format
timestamp-format
Read the instructions of your template located on the download page.
Why some images in my template disappeared?
Although we host the largest number of images in Blogger, images may suddenly disappear because:
The images were removed from the original hosting.
You use a own domain.
Solution: Download the template from BTemplates again, or from the page’s original author and re hosts the images on an external service such as Photobucket, or ImageShack.
How to add the comment form to my template?
Blogger recently added the Comments Form within the same template, below the individual posts, if your template does not have the form there, you may need to manually add it or activate it.
To add it manually:
Enter in the code of your template (Dashboard → Design → Edit HTML or Dashboard → Template → Edit HTML in the new Blogger design) and search for:
<a expr:href='data:post.addCommentUrl' expr:onclick='data:post.addCommentOnclick'><data:postCommentMsg/></a>
Replace that code with the following:
<b:if cond='data:post.embedCommentForm'>
<b:include data='post' name='comment-form'/>
<b:else/>
<b:if cond='data:post.allowComments'>
<a expr:href='data:post.addCommentUrl' expr:onclick='data:post.addCommentOnclick'><data:postCommentMsg/></a>
</b:if>
</b:if>To activate it:
Enter the options panel comments (Dashboard → Settings → Comments).
And in the “Comment Form Placement” section, select: Embedded below post.
Note: If you are using the new Blogger design, you will need back to the classic version and follow the two step above.
How do I add my feed of Feedburner to my blog?
On the menu: Many templates show the feed in the top menu, to change the default feed for feedburner, go to your template code (Dashboard → Design → Edit HTML or Dashboard → Template → Edit HTML in the new Blogger design) and search for:
<a expr:href='data:blog.homepageUrl + "feeds/posts/default"'>
Replace this with:
<a href='URL del feed en Feedburner'>
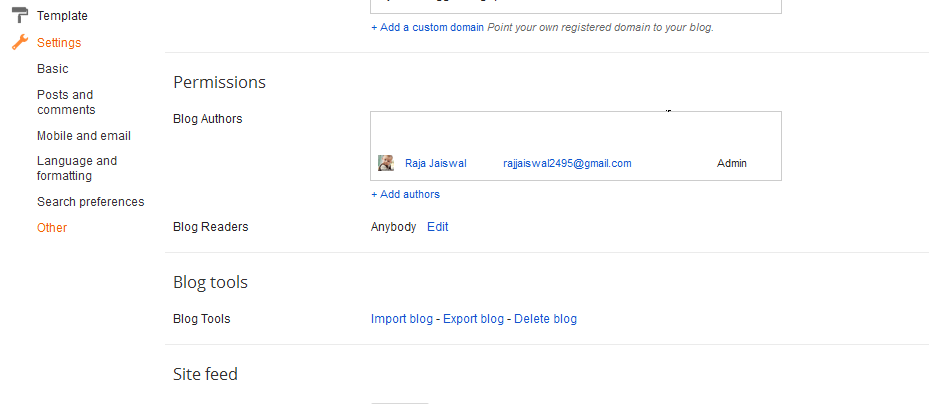
Now, in the settings panel of the feed ( Dashboard → Settings → Site Feed or Dashboard → Settings → Other → Post Feed Redirect URL in the new Blogger design) also add your Feedburner URL.
How do I translate my template to another language?
Directly in the template code. (Dashboard → Design → Edit HTML or Dashboard → Template → Edit HTML in the new Blogger design), with a really simple process:
Using the browser search, find the text you want translate.
Replaces that text with your translation.
Repeat the process for all the words / phrases that you want to change.
The text within an image need to be changed with a image editor (eg. Gimp or Photoshop) and then, replace that image url with the edited image url.
What should I do after I install my template?
After installing a template, there are several things worth to check, update or modify, we recommend you to read our article with all the points.
How to display the navbar again in my template?
Easy! Enter in the code of your template (Dashboard → Design → Edit HTML) and search for:
#navbar-iframe {
height:0px;
visibility:hidden;
display:none
}
Delete it and that’s it.
How to display the last posts or comments on the sidebar?
Enter the administrator page elements (Dashboard → Design or Dashboard → Layout in the new Blogger design).
Add a new feed widget, with the following URL’s:To show the recent posts:
To display the latest comments:
Why is my blog shows few entries per page?
Blogger recently implemented a mechanism called “auto pagination” to reduce the loading time of its blogs. This mechanism is to show less Blogger entries per page if it detects that the page is heavy to load.
To avoid that this happens, you can try to decrease the load time of your blog, some recommendations are:
Optimizing images. For example, using Smush.it or a free image editor like Gimp.
Eliminate unnecessary gadgets.
Use “read more” in your longer posts.
Optimize CSS code. For example, with CSS Optimizer.
Can I remove the template credits?
No, the vast majority of templates are licensed under a Creative Commons, GPL or similar license, thus removing the credits would be using an illegal copy of the same. You can simplify the credits or relocate, but not remove them. Remember that the templates are free, so keep the credits is a way to thank those who designed and / or adapted the template.
What does the icon of a gold medal in some templates?
We call them Free Premium Templates and highlight it with this icon because have an excellent graphic quality, are well designed for Blogger, bring additional features and / or are compatible with the major browsers (Firefox, Chrome, IE7).
I sent a template, why is it not published?
Usually we receive a big number of templates, we try to publish as soon as possible and ensure a minimum quality in the published templates in BTemplates, some of the criteria that we use to approve a templates are:
An acceptable graphic and technical quality.
Compatible with most browsers.
No installation errors.
A license that allows distribution.
Please read our full publication guidelin